Introduction 00:00
If you are here and are trying to level up your skills in WebGL with Three.js, you probably know how important it is to have a good portfolio.
In web development and more generally in the digital industry, what matters most is your experience. Companies and job recruiters will certainly judge you on that first criterion before giving you a chance.
You need a way to display your projects, which is why it’s important to have a portfolio.
And that portfolio is actually one of your projects (if not the most important one). It should be your testimony and demonstrate what you can do and why companies should hire you for.
But creating a cool portfolio is a long and difficult process. You are your own client and you are probably the most demanding client you could have.
But let’s say that you already have a simpler HTML/CSS portfolio that displays your projects and some information (which is already good).
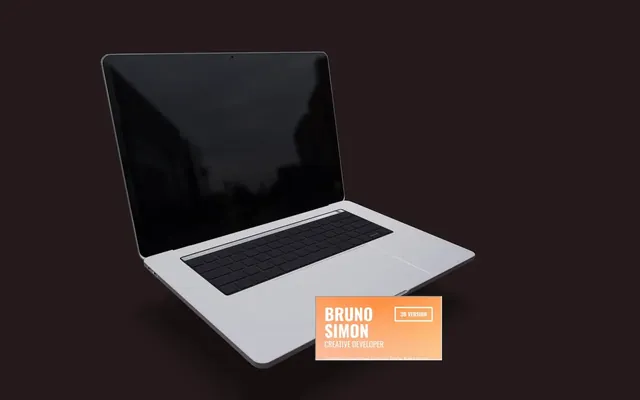
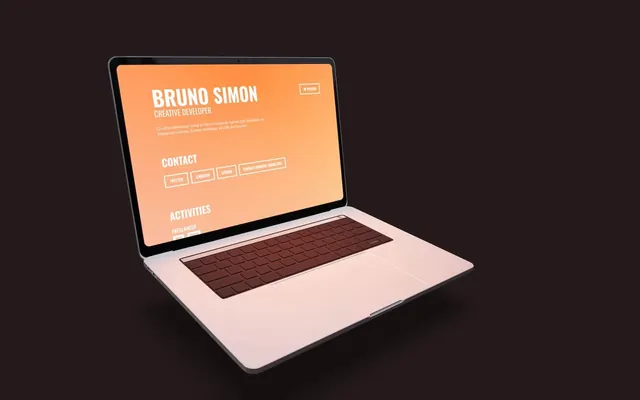
In this lesson, we are going to capitalise on that HTML/CSS portfolio and make it look more exciting and more creative. We are going to create a nice 3D scene with a laptop model and put that HTML/CSS portfolio inside the screen of the laptop.

This concept is inspired by Paul Henschel (0xca0a) experiment that you can find here https://twitter.com/0xca0a/status/1398633764931178498
Note that, through the lesson, we are going to set values that fit nicely and make the experience pleasant. To get those values, I had to tweak them a lot and I use Leva to do so.
If you are creating your own experiences, don’t feel frustrated not finding the perfect value on the first try. It’s a process of trial and error. And don’t forget to add a debug UI like Leva to help you.
Setup 04:07
In the starter, we have a simple cube in the center.
The @react-three/drei dependency is already installed within the project and we are using the OrbitControls helper to be able to move the camera around. We are going to replace it later, but let’s keep it for now.
We didn’t use Perf because we shouldn’t have any performance concerns, but feel free to add it if you want.
We didn’t use Leva because we are going to set very specific values, but you should add it if you want to tweak the experience.
Background 04:36
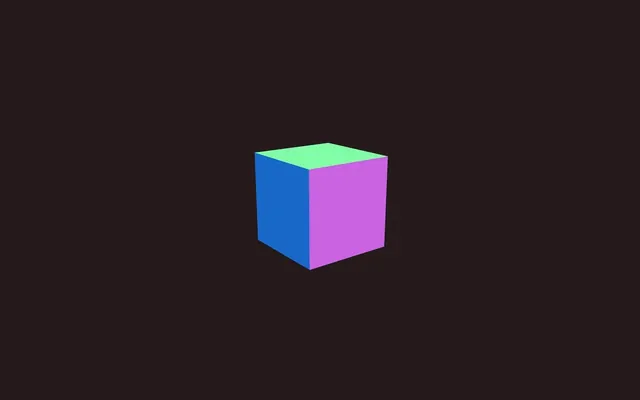
First of all, let’s change the background to a darker color in order to create a warmer mood and highlight the importance of the content.
In Experience.jsx, add a <color> with the attach attribute to "background":
export default function Experience()
{
    return <>

        <color args={ [ '#241a1a' ] } attach="background" />

        {/* ... */}

    </>
}
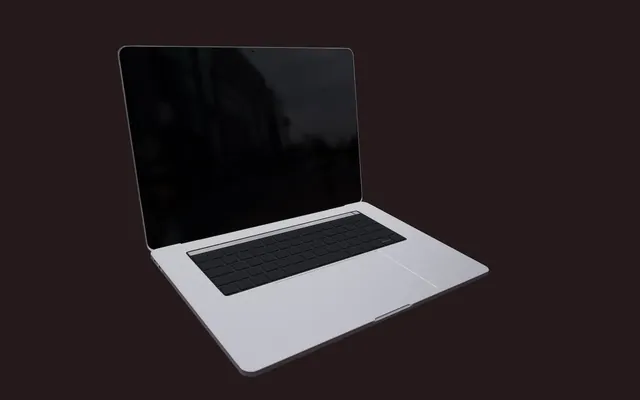
Laptop 05:55
We are going to display the portfolio on a laptop.
We could create the model ourselves, but instead, let’s use a free model.
Find a good model
There are many free models online, but the PMNDRS team created a place where we can find a bunch of models ready to be used in Three.js and more specifically in R3F: https://market.pmnd.rs
If you’re looking for a "Macbook" model, you should find this one https://market.pmnd.rs/model/macbook.
Most models are available under the CC0 license ("No Rights Reserved"), which means that you can do whatever you want with them.
And by the way, if you feel like helping, you can propose your own model to the PMNDRS Market.
Implement the model
We have multiple options available to implement this model into our experience:
- Download it and put it in the
/public/folder - Use the CDN link from https://market.pmnd.rs/
- Download the various R3F versions
- Download the native Three.js version
Let’s keep things simple and use the CDN.
Click on “copy direct link”.
In Experience.jsx, import useGLTF from @react-three/drei:
import { useGLTF, OrbitControls } from '@react-three/drei'Then load the model with useGLTF (use the link you copied from PMNDRS Market, not the one below, even if it’s the same model):
export default function Experience()
{
    const computer = useGLTF('https://vazxmixjsiawhamofees.supabase.co/storage/v1/object/public/models/macbook/model.gltf')

    // ...
}
If for some reasons the https://market.pmnd.rs is down, you can use the following link:
'https://threejs-journey.com/resources/models/macbook_model.gltf'Finally, add it with a <primitive> and its object attribute:
export default function Experience()
{
    // ...

    return <>

        {/* ... */}

        <primitive object={ computer.scene } />

    </>
}
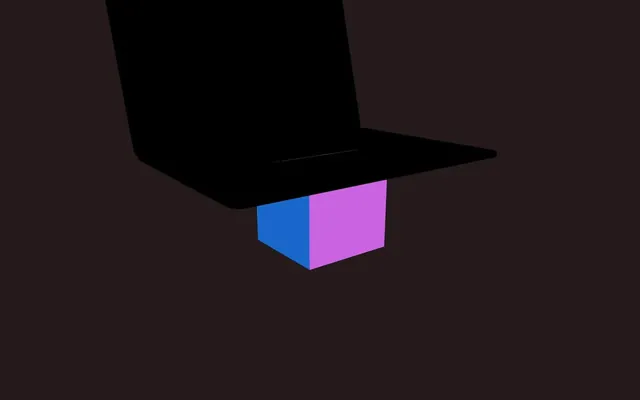
You should see a totally black laptop because we need lights.
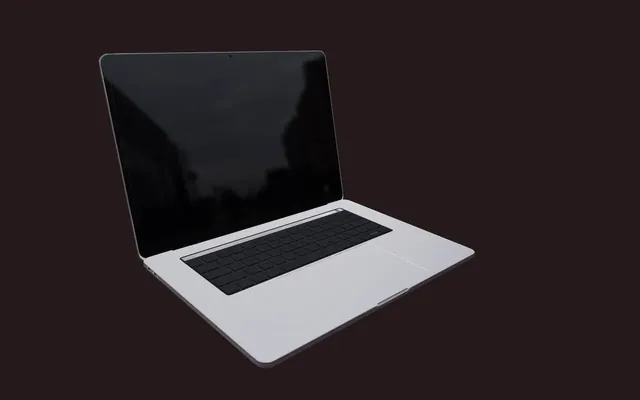
Light and environment 11:41
We are going to use environmental lighting and be super lazy by using the Environment helper from drei with a preset.
Import Environment from @react-three/drei:
import { Environment, useGLTF, OrbitControls } from '@react-three/drei'Add it anywhere in the scene with "city" as the preset attribute:
export default function Experience()
{
    // ...

    return <>

        <Environment preset="city" />

        {/* ... */}

    </>
}

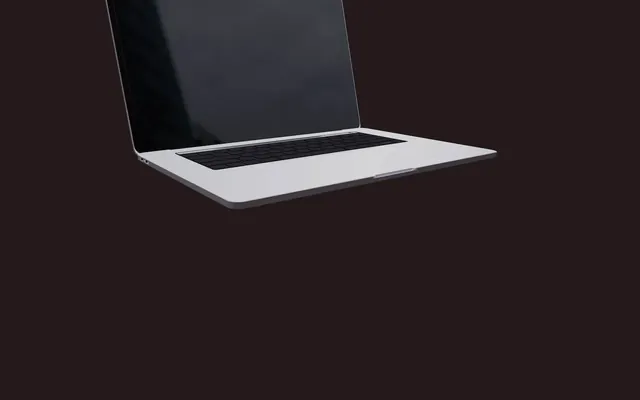
We can now enjoy the model with a proper light source.
And since we can finally see something, let’s remove the cube:
Floating animation 12:55
We are going to make the laptop move slowly, but first, let’s center it in the middle of the scene.
We could have used the <Center> helper, but it would have resulted in the whole computer being center and its screen would be a bit off.
Instead, we are going to set a position-y to - 1.2:
<primitive
    object={ computer.scene }
    position-y={ - 1.2 }
/>
We can now make the laptop float and we are going to use the Float from the drei helpers.
First, import Float from @react-three/drei:
import { Float, Environment, useGLTF, OrbitControls } from '@react-three/drei'Then, wrap the <primitive> in <Float>:
<Float>
    <primitive
        object={ computer.scene }
        position-y={ - 1.2 }
    />
</Float>
The default floating animation feels good, but remember that we are going to display a HTML/CSS website on the screen. If the screen moves around too much, it becomes impossible for your website visitors to interact with the website.
Reduce the rotation intensity with the rotationIntensity attribute:
<Float rotationIntensity={ 0.4 } >
    <primitive
        object={ computer.scene }
        position-y={ - 1.2 }
    />
</Float>
Camera and controls 15:29
Currently, we are using the OrbitControls from drei and we can rotate all around the model.
It’s no big deal, but it would be better to limit the rotation but still allow the user to rotate it a little.
Instead of tweaking the properties of OrbitControls, we are going to use a drei helper named PresentationControls.
PresentationControls lets you manipulate the model instead of the camera. We can rotate that model, and, when we release it, it goes back to its initial position.
Internally, it’s using Spring; another PMNDRS library that makes the animation realistic and pleasant.
Implementing
Import PresentationControls from @react-three/drei:
import { PresentationControls, Float, Environment, useGLTF, OrbitControls } from '@react-three/drei'Now remove the <OrbitControls> and its import because we don’t want two different controls interfering with each other.
Finally, add the <PresentationControls> around the <Float>:
export default function Experience()
{
    // ...

    return <>

        <color args={ [ '#241a1a' ] } attach="background" />

        <Environment preset="city" />

        <PresentationControls>
            <Float rotationIntensity={ 0.4 } >
                <primitive
                    object={ computer.scene }
                    position-y={ - 1.2 }
                />
            </Float>
        </PresentationControls>

    </>
}
The default behaviour feels a lot like OrbitControls, but we can improve upon it.
Global
By default, we can only rotate the object by dragging and dropping right on the model.
We want to be able to drag and drop from anywhere, even the background.
To do that, add the global attribute:
<PresentationControls
    global
>
    {/* ... */}
</PresentationControls>
Fixing the mobile gesture error
If you drag and drop the object now, you might notice a warning in the console:

Even if you don’t see the error, the following problem is there.
PresentationControls is using use-gesture, a library to interact with elements using natural gestures (like drag and dropping) and this library recommends adding the CSS property touch-action to none in order to fix weird behaviour on mobile when swiping.
Indeed, if you test the current experience on mobile, you’ll notice that the drag and drop is a bit clunky and will conflict with the browser default gestures like reloading the page when drag and dropping from top to bottom.
You can find more info about this issue here: https://use-gesture.netlify.app/docs/extras/#touch-action
Following what is being said on that website, we need to add the touch-action property in our CSS but we need to do it on the element handling the pointer events which is the <div> right above the <canvas> that R3F creates.
By default, this <div> has no class, but we can set onel using className on the <Canvas>:
<Canvas
    className="r3f"
    camera={ {
        fov: 45,
        near: 0.1,
        far: 2000,
        position: [ -3, 1.5, 4 ]
    } }
>
    <Experience />
</Canvas>
We chose "r3f" but you can change it to whatever you want.
Next, in /src/style.css, we can select it and change its touch-action to none:
.r3f
{
    touch-action: none;
}
Rotation
We can change the default rotation with the rotation attribute:
<PresentationControls
    global
    rotation={ [ 0.13, 0.1, 0 ] }
>
    {/* ... */}
</PresentationControls>
Limits
We can limit the rotations both horizontally and vertically.
The vertical one is named polar and we must send an array of two values, the minimum and the maximum:
<PresentationControls
    global
    rotation={ [ 0.13, 0.1, 0 ] }
    polar={ [ - 0.4, 0.2 ] }
>
    {/* ... */}
</PresentationControls>
The horizontal one is named azimuth and works the same:
<PresentationControls
    global
    rotation={ [ 0.13, 0.1, 0 ] }
    polar={ [ - 0.4, 0.2 ] }
    azimuth={ [ - 1, 0.75 ] }
>
    {/* ... */}
</PresentationControls>
Spring configuration
Finally, we want to tweak the physics of the animation.
As we said earlier, PresentationControls is using Spring for the animation and we can play with the properties of that spring.
We are not going to go into detail regarding all properties of a spring, but you can check the documentation here https://react-spring.dev/common/configs#configs
There are two different spring configurations.
The one used when drag-and-dropping can be set with the config attribute:
<PresentationControls
    global
    rotation={ [ 0.13, 0.1, 0 ] }
    polar={ [ - 0.4, 0.2 ] }
    azimuth={ [ - 1, 0.75 ] }
    config={ { mass: 2, tension: 400 } }
>
    {/* ... */}
</PresentationControls>
The one used when releasing can be set with the snap attribute:
<PresentationControls
    global
    rotation={ [ 0.13, 0.1, 0 ] }
    polar={ [ - 0.4, 0.2 ] }
    azimuth={ [ - 1, 0.75 ] }
    config={ { mass: 2, tension: 400 } }
    snap={ { mass: 4, tension: 400 } }
>
    {/* ... */}
</PresentationControls>
Shadow 26:48
To add more realism to the scene, we are going to add a shadow.
There’s a wide array of options available to us as we seen in a previous lesson, but let’s keep things simple and use the ContactShadows from drei.
First, import ContactShadows from @react-three/drei:
import { ContactShadows, PresentationControls, Float, Environment, useGLTF } from '@react-three/drei'Then, add it outside of the <PresentationControls> (we don’t want it to rotate) and move it down a little with the position-y attribute:
export default function Experience()
{
    // ...

    return <>

        {/* ... */}

        <PresentationControls
            global
            rotation={ [ 0.13, 0.1, 0 ] }
            polar={ [ - 0.4, 0.2 ] }
            azimuth={ [ - 1, 0.75 ] }
            config={ { mass: 2, tension: 400 } }
            snap={ { mass: 4, tension: 400 } }
        >
            {/* ... */}
        </PresentationControls>

        <ContactShadows position-y={ - 1.4 } />

    </>
}
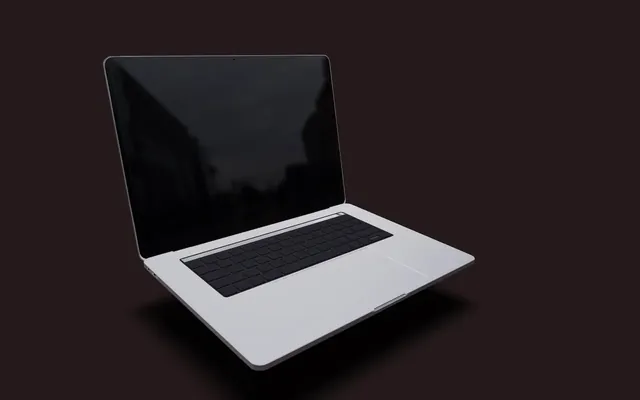
It doesn’t look too bad by default, but let’s tweak it a little.
Change its opacity, scale, and blur attributes:
<ContactShadows
    position-y={ - 1.4 }
    opacity={ 0.4 }
    scale={ 5 }
    blur={ 2.4 }
/>

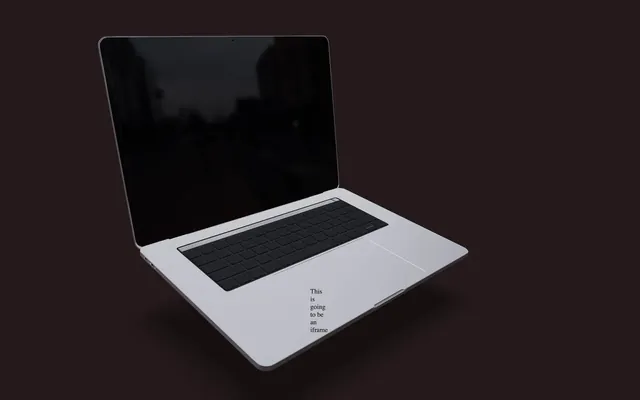
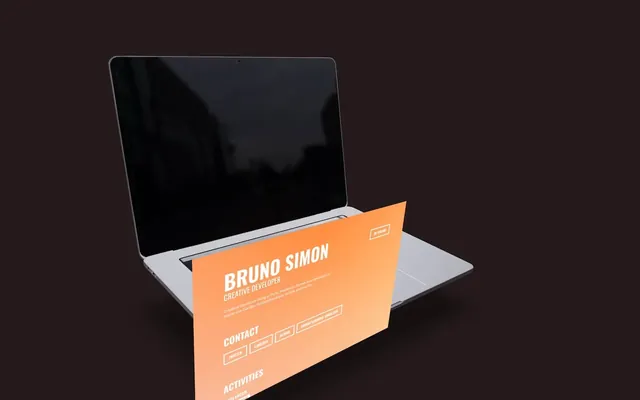
iframe 28:18
It’s time to add the actual HTML/CSS website.
We want it to be displayed on our model as if it were the actual screen.
HTML/CSS website
First, we need an actual HTML/CSS website.
You can use your own, but for the example, we are going to use an HTML/CSS version of my portfolio that you can find here https://bruno-simon.com/html/
If you are using your own, make sure that the server allows you to use the URLs as an iframe (you’ll see if it’s an issue right after).
Implementing
We are going to use an <iframe> to put that website into our experience.
If you don’t know what an iframe is, imagine that it’s a window that leads to another website. It makes it possible to have websites visible on other websites (website-ception).
But let’s not forget that we want that iframe to follow the model as if it were part of our WebGL scene.
To do that, we are going to use the Html helper from drei:
First, import Html from @react-three/drei:
import { Html, ContactShadows, PresentationControls, Float, Environment, useGLTF } from '@react-three/drei'Now, add it inside the <primitive> so that the HTML sticks to the laptop model:
<primitive
    object={ computer.scene }
    position-y={ - 1.2 }
    rotation-x={ 0.13 }
>
    <Html>This is going to be an iframe</Html>
</primitive>
We can now replace our text by an <iframe> with the src attribute leading to our HTML/CSS website:
<Html>
    <iframe src="https://bruno-simon.com/html/" />
</Html>
It’s working, but we have some improvements to do.
First, we want the iframe to transform itself as if it were part of the scene and not just follow a 3D point.
Transform
To do that, add the transform attribute:
<Html
    transform
>
    {/* ... */}
</Html>
Size
Currently, we are looking at a very small <iframe>, but super stretched (if it makes sense).
First, we are going to decide on a size that will make the content inside the iframe look decent. We don’t care about the size it takes in the scene for now, we just want the content to fit properly in the iframe. To do that, we need to apply some CSS to it.
Let’s add a class to it in order to control it in CSS.
Add a wrapperClass attribute with htmlScreen as the content:
<Html
    transform
    wrapperClass="htmlScreen"
>
    {/* ... */}
</Html>
Now, there is a htmlScreen class on the parent of the iframe.
Then, in /src/style.css, add width and height attributes:
.htmlScreen iframe
{
    width: 1024px;
    height: 670px;
}
What a mess!
Don’t worry, all we need to do now is make the final element smaller.
We can do that with the distanceFactor attribute:
<Html
    transform
    wrapperClass="htmlScreen"
    distanceFactor={ 1.17 }
>
    {/* ... */}
</Html>
Minor fixes
Being able to control the appearance of the iframe in CSS is a good opportunity to fix minor issues.
First, we can remove the default iframe border:
.htmlScreen iframe
{
    width: 1024px;
    height: 670px;
    border: none;
}
Although it’s not accurate if you are an Apple fan, we are going to add a small bevel in the corners with a border-radius:
.htmlScreen iframe
{
    width: 1024px;
    height: 670px;
    border: none;
    border-radius: 20px;
}

And finally, we are going to add a black background to it in case the CSS in the iframe doesn’t load fast enough:
.htmlScreen iframe
{
    width: 1024px;
    height: 670px;
    border: none;
    border-radius: 20px;
    background: #000000;
}
Position and rotation
We can now move the iframe against the screen of the model with the position attribute:
<Html
    transform
    wrapperClass="htmlScreen"
    distanceFactor={ 1.17 }
    position={ [ 0, 1.56, - 1.4 ] }
>
    {/* ... */}
</Html>
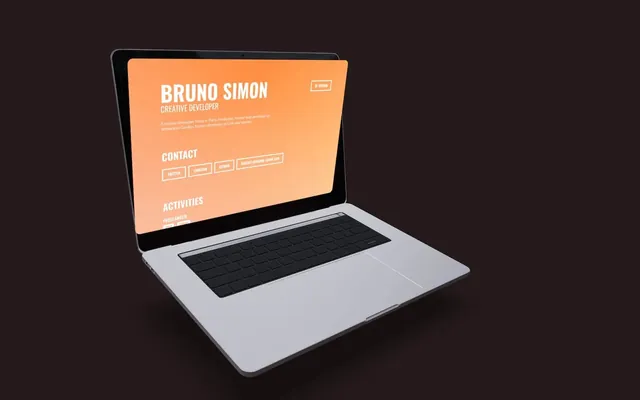
Then, rotate it on the x axis with rotation-x:
<Html
    transform
    wrapperClass="htmlScreen"
    distanceFactor={ 1.17 }
    position={ [ 0, 1.56, - 1.4 ] }
    rotation-x={ - 0.256 }
>
    {/* ... */}
</Html>
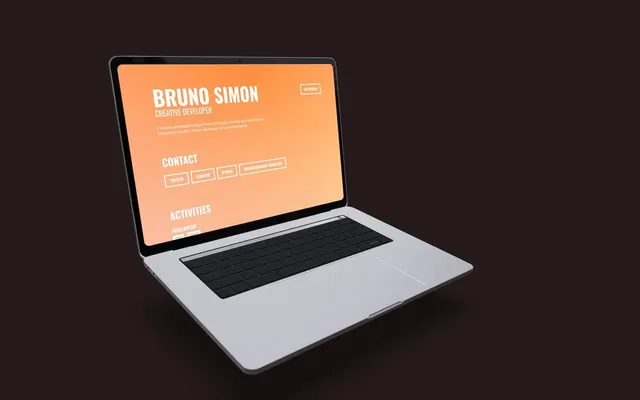
Screen light 38:15
Things are starting to look really good. We are going to add even more realism by adding an orange RectAreaLight at the screen position so that we can see the light reflected on the laptop keyboard.
Add a <rectAreaLight> inside the <Float> with the following attributes:
<Float rotationIntensity={ 0.4 } >

    <rectAreaLight
        width={ 2.5 }
        height={ 1.65 }
        intensity={ 65 }
        color={ '#ff6900' }
        rotation={ [ - 0.1, Math.PI, 0 ] }
        position={ [ 0, 0.55, - 1.15 ] }
    />

    {/* ... */}

</Float>
Feel free to change the color according to the page you are displaying.
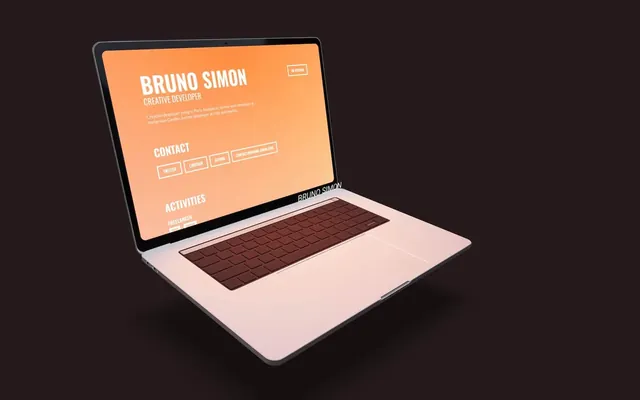
Text 40:56
We are almost done, but our project lacks a clear understanding of its purpose. Are we selling computers?
To make it obvious that the website represents your portfolio, we are going to add our name to the top right part and we are going to use the Text helper from drei.
Implementing
Import Text from @react-three/drei:
import { Text, Html, ContactShadows, PresentationControls, Float, Environment, useGLTF } from '@react-three/drei'Add it inside the <Float> with your name or whatever you want in it:
<Float rotationIntensity={ 0.4 } >

    {/* ... */}

    <Text>BRUNO SIMON</Text>

</Float>
You should see the text, but be careful, the iframe is on top of the <canvas>.
It’s no big deal because we are going to move it to the top right corner.
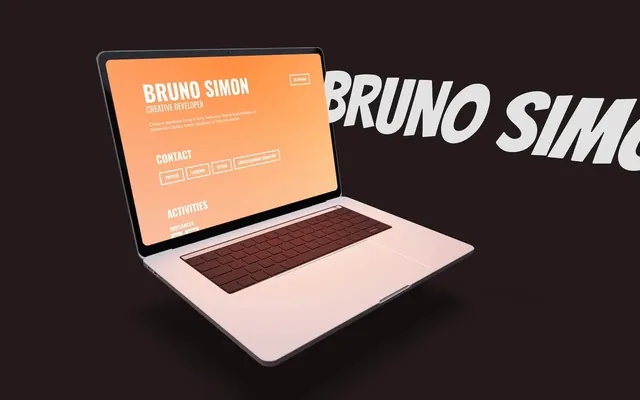
Font
The Bangers font from Google Fonts is available in the /public/ folder.
It looks a bit silly and cartoonish, it creates a fun contrast.
Feel free to use any font you like and remember that you can download fonts from Google Fonts with Google Webfonts Helper.
Set the font with the font attribute and change its size with the fontSize attribute:
<Text
    font="./bangers-v20-latin-regular.woff"
    fontSize={ 1 }
>
    BRUNO SIMON
</Text>
Position and rotation
Move it aside with the following position and rotation attributes:
<Text
    font="./bangers-v20-latin-regular.woff"
    fontSize={ 1 }
    position={ [ 2, 0.75, 0.75 ] }
    rotation-y={ - 1.25 }
>
    BRUNO SIMON
</Text>
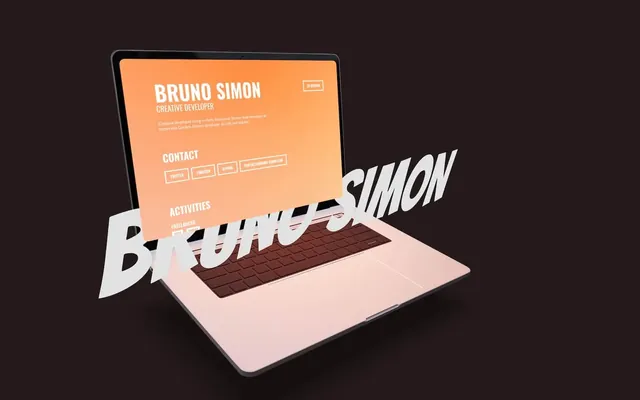
Line break
We would like the text to fit on two lines and we can do that by setting a limited width with the maxWidth attribute:
<Text
    font="./bangers-v20-latin-regular.woff"
    fontSize={ 1 }
    position={ [ 2, 0.75, 0.75 ] }
    rotation-y={ - 1.25 }
    maxWidth={ 2 }
>
    BRUNO SIMON
</Text>
If your first name length differs a lot from your last name, you can also play with the textAlign attribute to make the text fit well with the scene.
Going further 47:03
And that’s it! Within one hour, we have created a nice-looking alternative to our HTML/CSS portfolio.
Remember that it was a quick and simple solution and that we can go much further.
Here are some improvement ideas:
- Introduction animation where objects come up when ready and loaded;
- Sounds (don’t forget that the user needs to interact with the page through a click or a keyboard press before being able to play sounds);
- Make the camera zoom in on the screen when hovering over it (currently, the UX is really bad and it’s hard to read);
- Easter eggs;
- A better environment with objects in the back, particles, etc. (here’s a good inspiration https://codesandbox.io/s/interactive-spline-scene-live-html-f79ucc);
- Reflections on the screen (this one might be tricky because you need to create them inside the
<Html>as HTML/CSS content because the iframe is on top of the WebGL); - Improve the actual content of the iframe;
- Make it mobile friendly.